DataSF Tips: Using the Open Data Portal API
How to Automate Data Retrieval from the Open Data Portal

Introduction
When working with the Open Data Portal, the most effective way to pull data into an application, workbook, or analysis is through the API (Application Programming Interface). The API ensures your data is always current—every time you run your analysis or refresh your dashboard, it pulls the latest version.
This guide provides a high-level overview and specific examples to help you get the most out of our APIs.
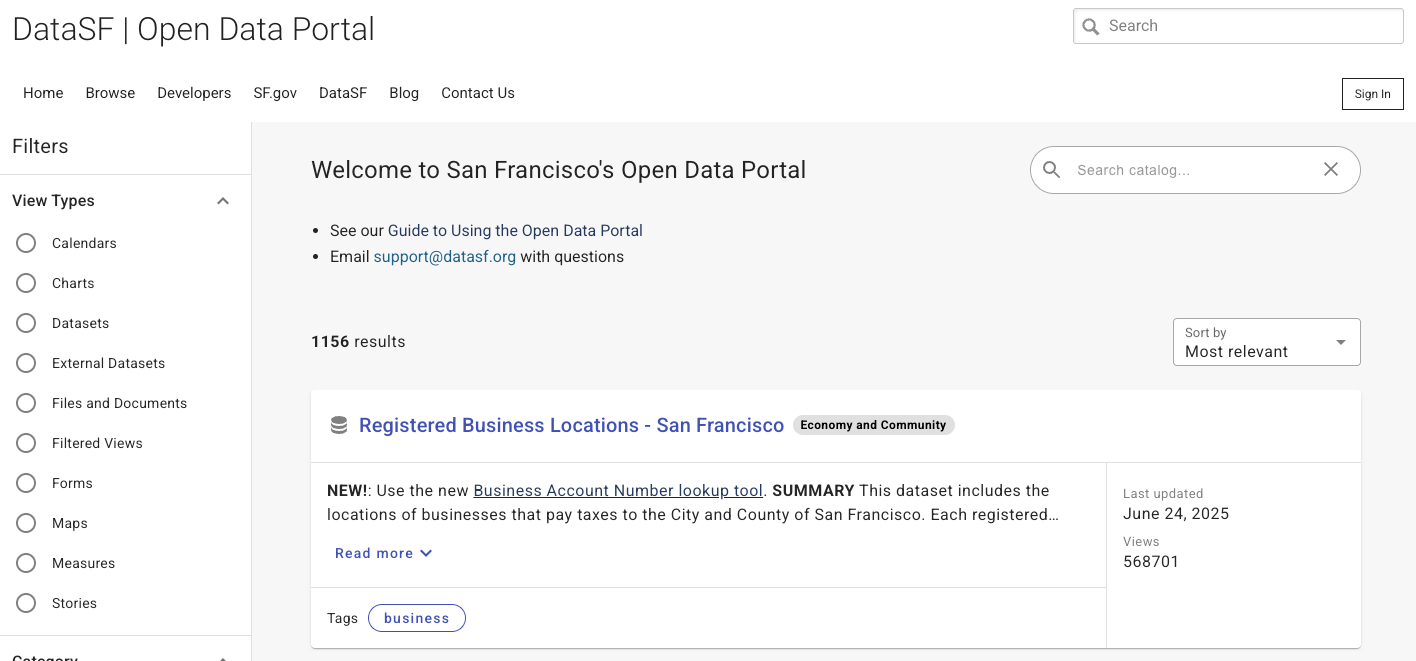
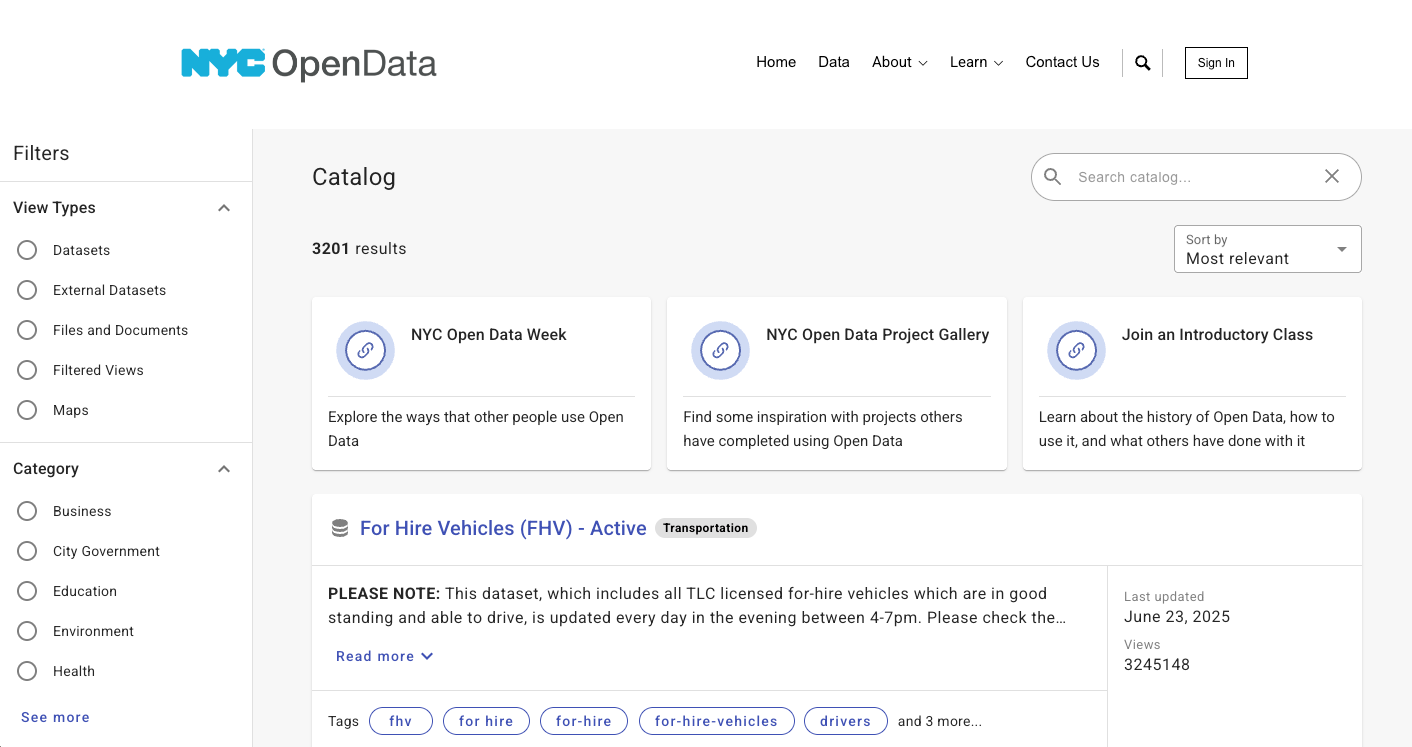
Note: These tips apply to any Open Data Portal powered by Tyler Technologies. You can often confirm this by checking the bottom of the page for a “Powered by Tyler Technologies” label. These portals share a common layout and structure—examples include those used by San Francisco and New York City.
API Basics
Every dataset has an associated API endpoint, and all endpoints follow the same basic format:
<Domain>/resource/<4x4>.<file type>As an example for Registered Business Locations (Public, CSV):
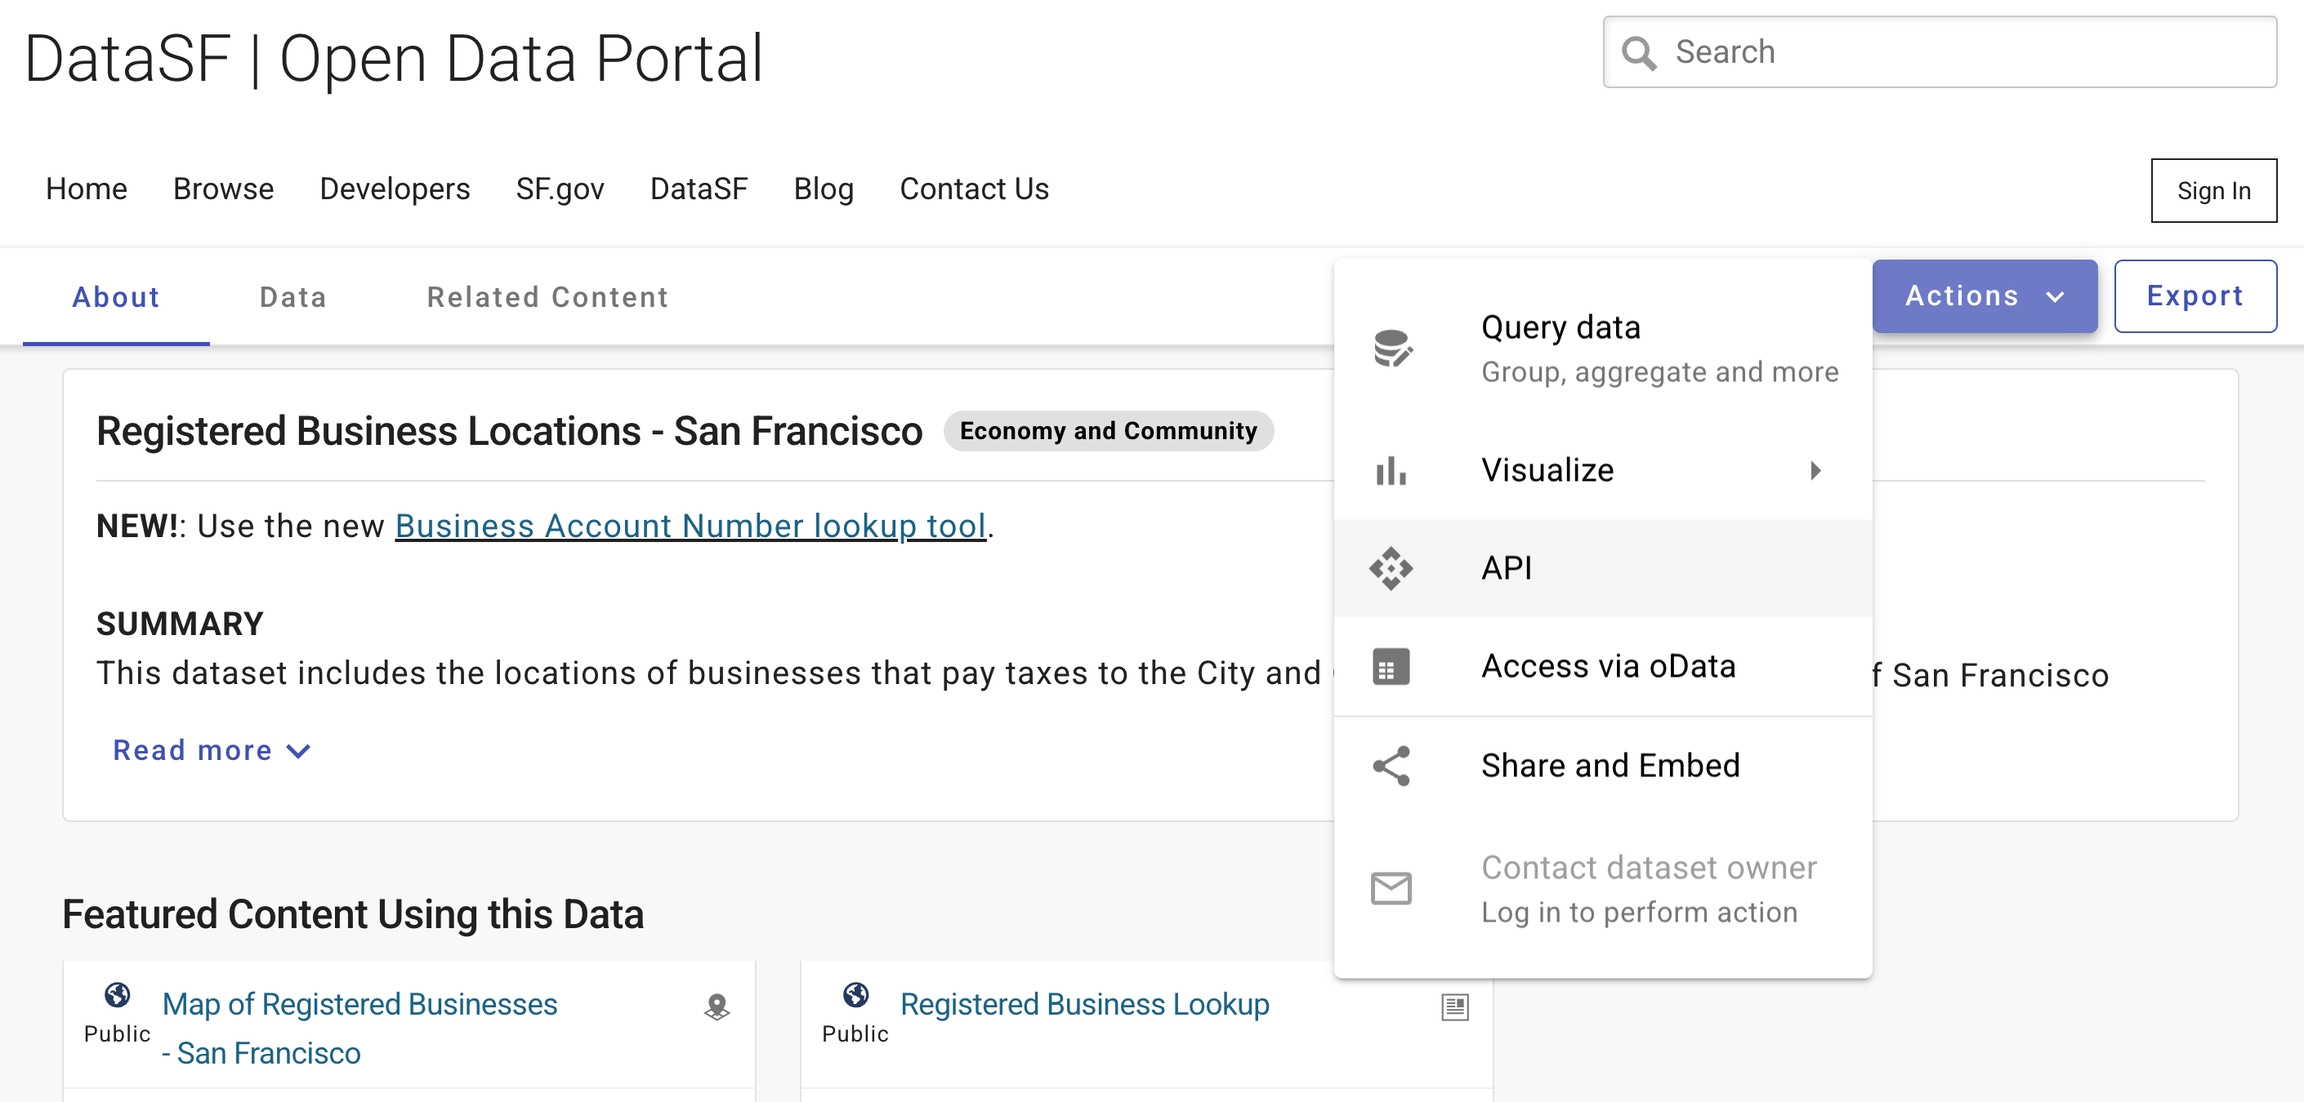
https://data.sfgov.org/resource/g8m3-pdis.csvvYou can generate an API endpoint from any dataset's primer page (E.g. Registered Business), by clicking “ACTIONS” and then selecting “API”. Endpoints can be created for different formats, including CSV, JSON, and GeoJSON (for datasets that include geospatial data).
API Details
You can query the data through the API to cut down on the amount of data you are pulling. Below are the most common functions, but the full list of functions can be found here.
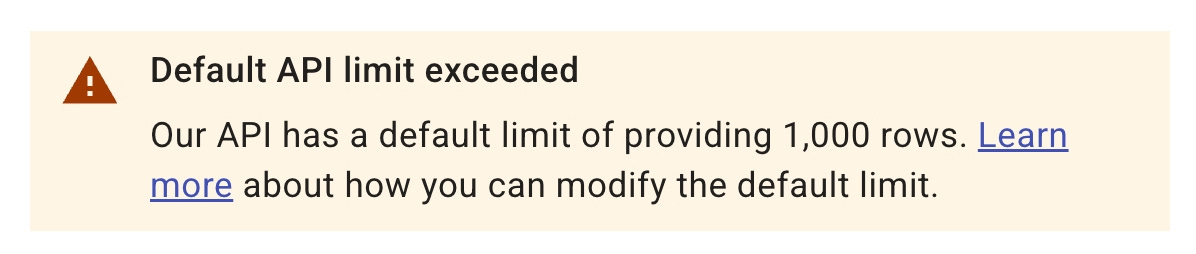
Limits (PLEASE READ)
The default API call will only return 1000 rows of data. If you need more than 1000 rows, the easiest way is to add a large limit to the API call:
https://data.sfgov.org/resource/6a9r-agq8.csv?$limit=99999999999Select Columns
You can select specific columns to include in your API call, allowing you to retrieve only the data you need.
https://data.sfgov.org/resource/6a9r-agq8.csv
?$select=address, applicant,approved,block,blocklot,cnn,dayshours&$limit=99999999999
Where
You can filter rows in your API call using the $where parameter to add conditional logic.
https://data.sfgov.org/resource/6a9r-agq8.csv?$where=facilitytype='Truck'&$limit=99999999999Rows can also be filtered by date, allowing you to retrieve records within a specific time range using the $where parameter.
https://data.sfgov.org/resource/6a9r-agq8.csv?$where=expirationdate>='2024-01-01'&$limit=999999999API Examples
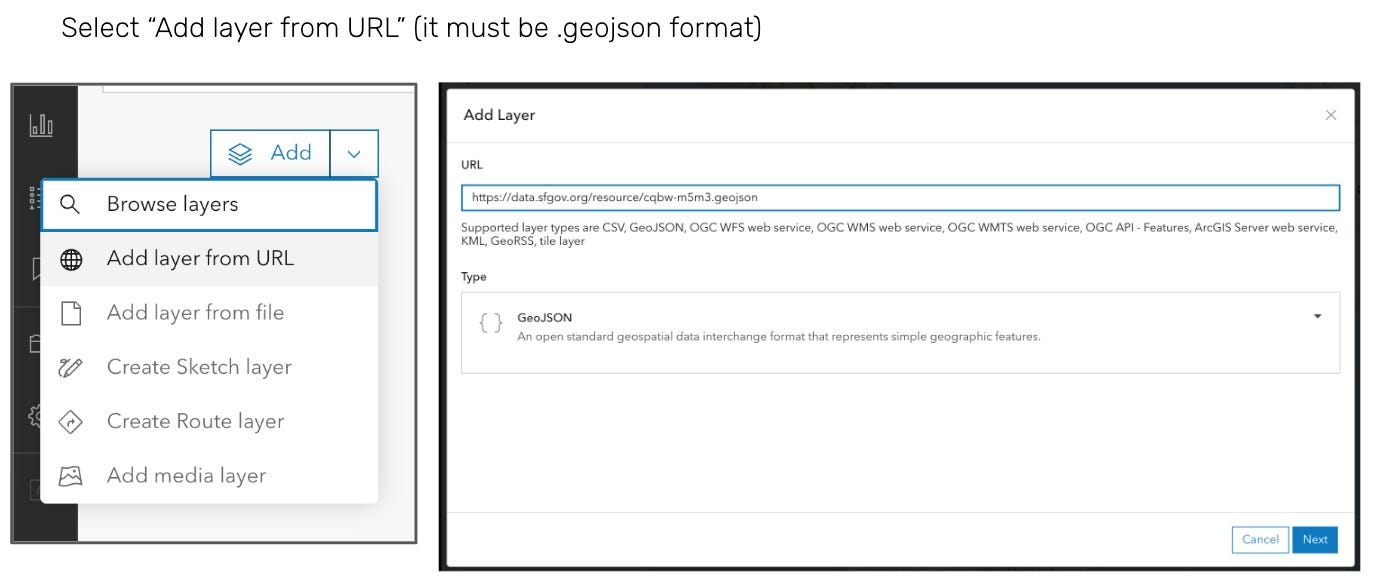
ArcGIS
Python
import pandas as pd
url = '
https://data.sfgov.org/resource/6a9r-agq8.csv?$limit=99999999999
'
df = pd.read_csv(url)
df.head()
R
library('readr')
df <- read_csv("
https://data.sfgov.org/resource/i98e-djp9.csv?$limit=9999999
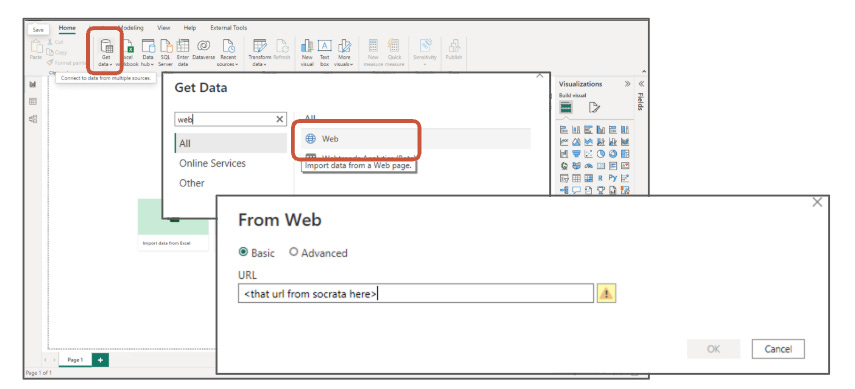
")PowerBI
Add data from “web”, then add the API endpoint URL